Asus eye PC X101CH is a netbook with compact design and high portability. If you want to upgrade or replace its components, such as the keyboard or the disk drive, you need to remove the laptop casing first. In this article, we will guide you through the process of removing the keyboard and disk drive of Asus Eee PC X101CH.
Asus Eee PC X101CH is a popular netbook back on old days, it comes with a built-in memory module, which means that you cannot upgrade its memory. However, you can still upgrade or replace other components, such as the hard disk drive, keyboard, and LCD screen. Removing the keyboard and disk drive of Asus Eee PC X101CH is not an easy task, but it can be done with proper instructions and tools.
Tools Needed to Disassemble Asus Eee PC X101CH
To remove the keyboard and disk drive of Asus Eee PC X101CH, you will need the following tools:
- A set of screwdrivers (including a small Phillips screwdriver)
- A plastic pry tool (or a similar non-conductive tool)
- An anti-static wristband
Safety Precautions before Disassemble Asus Eee PC X101CH
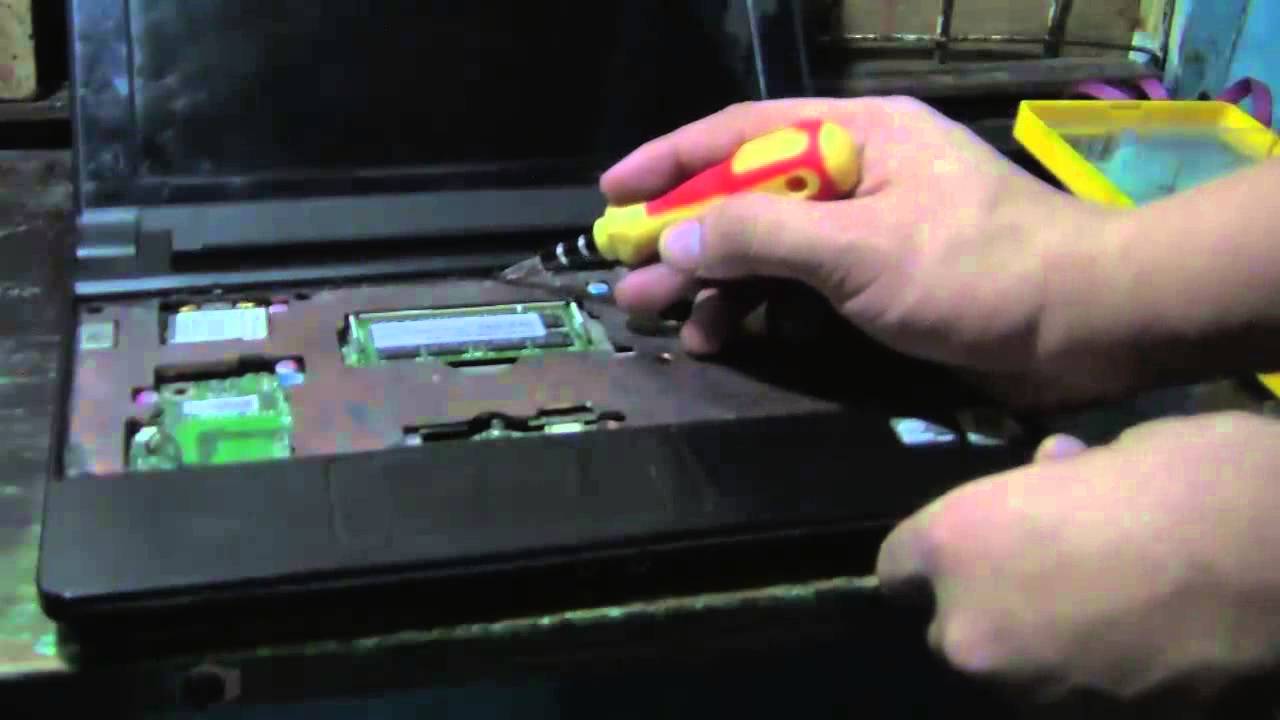
Before removing the keyboard and disk drive of Asus Eee PC X101CH, it is important to take necessary safety precautions. You will need a screwdriver, a plastic pry tool, and an anti-static wrist strap. Make sure to turn off the netbook and unplug it from the power source. Remove the battery and discharge any remaining power by pressing and holding the power button for a few seconds.
To remove the keyboard of Asus Eee PC X101CH, follow these steps:
- Remove first the battery.
- Remove screws at the back of the netbook.
- Flip the netbook over and remove the keyboard.
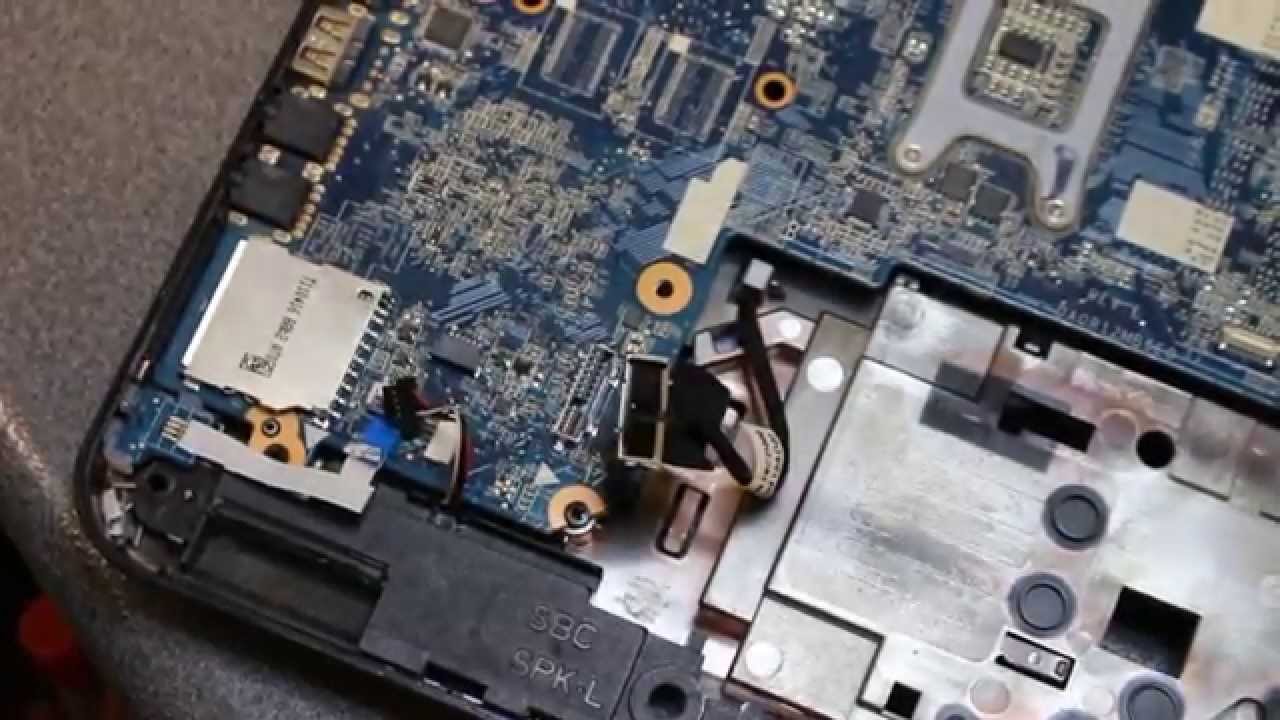
- Unlock the cable lock carefully to detach the keyboard ribbon cable.
- Lift the keyboard and remove it from the netbook.
To avoid damaging the keyboard, do not use excessive force while removing it. Also, make sure to keep track of the screws and their locations to avoid confusion while reassembling the netbook. Common mistakes to avoid while removing the keyboard include pulling the ribbon cable too hard, damaging the keyboard keys, and losing the screws.


Hi,
Can you post the size of screw driver used for dissemble. i am planning to buy one.
And what are all the common screw sizes for dissembling laptops.