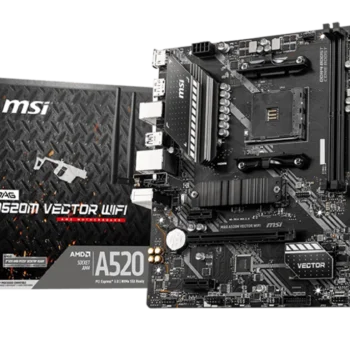
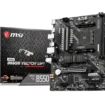
The MSI MAG A520M VECTOR WIFI is a versatile Micro-ATX motherboard built for AMD’s AM4 socket and powered by the AMD A520 chipset. This board is ideal for budget gamers, home office users, and even
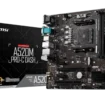
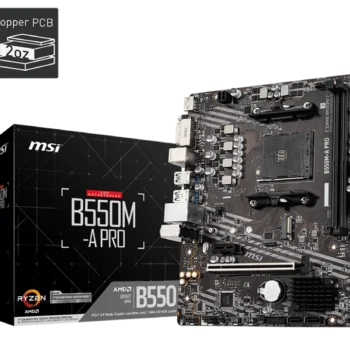
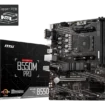
The MSI PRO B550M-A PRO is a budget-friendly Micro-ATX motherboard, designed to provide solid performance for everyday users, gamers, and content creators who need a compact and reliable system. Despite its smaller form factor, it
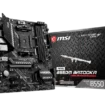
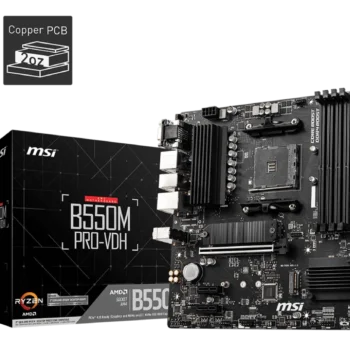
The MSI B550M PRO-VDH is a Micro-ATX motherboard built on the AMD B550 chipset, designed for users looking to build an affordable and reliable system with support for the latest AMD Ryzen™ 5000 and 3000
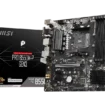
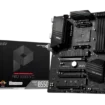
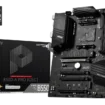
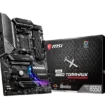
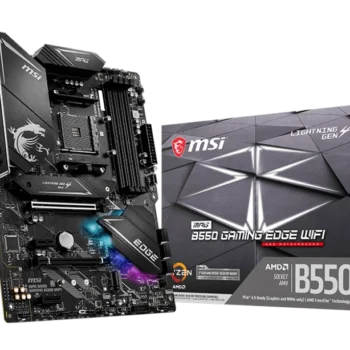
The MSI MPG B550 GAMING EDGE WIFI is an ATX motherboard designed for mid-range to high-performance gaming builds. It features the AMD B550 chipset and supports Ryzen 5000, 4000G, and 3000 series processors, making it