Welcome to this tutorial where we’ll guide you through the process of setting up and configuring your TP-LINK Dual Band Router for the first time. Whether you’re a new user or experiencing issues with your existing setup, we’ll help you get your router up and running smoothly.
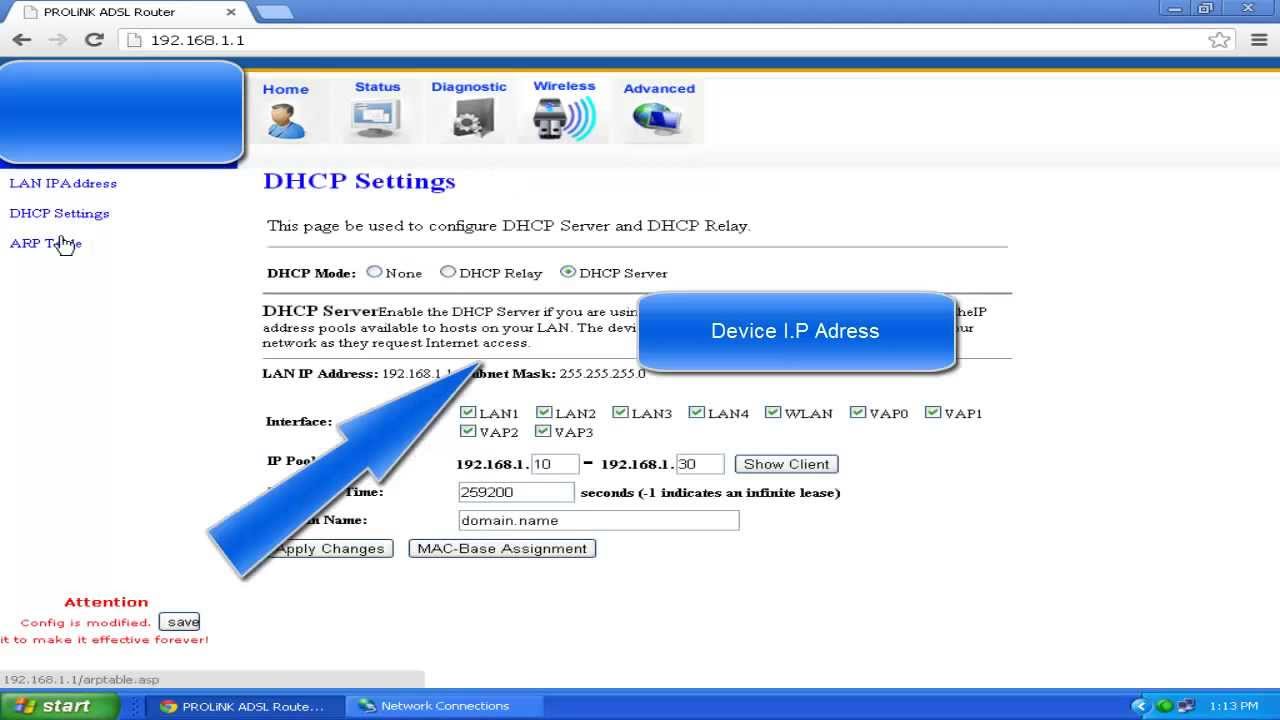
Step 1: Prepare Your Computer Start by configuring your computer’s network address to 192.168.0.2. This allows you to access the router’s default address, which is 192.168.0.1. Note that not all routers can be set up through Wi-Fi, so it’s important to connect via a LAN cable.
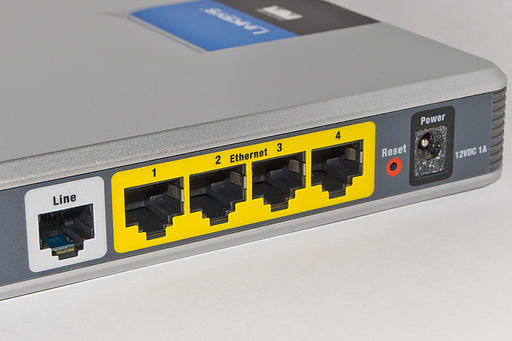
Step 2: Connect to the Router Attach a network cable from your computer to any of the 4 LAN ports on the router. Then, open your preferred web browser (such as Google Chrome or Firefox) and type in the IP address 192.168.0.1. This will initiate the TPLINK’s step-by-step installation process.

Step 3: Login to the Router Use the following default login credentials:
- Username: admin
- Password: admin
Step 4: Router Overview In this tutorial, we’ll be using the TPLINK AC1350 Dual Band Router, also known as the Archer C60. This router operates on both the 2.4 GHz and 5 GHz bands, providing flexibility and improved performance.
As for the internet connection type, you’ll encounter several options, each with its own set of configurations tailored to different service provider setups. These options include Dynamic IP, Static IP, PPPoE, L2TP, and PPTP. Let’s break down each one:
- Dynamic IP: This setting is commonly used when your ISP assigns your router a different IP address each time it connects to the internet. It’s a straightforward option that doesn’t require additional configuration beyond basic setup.
- Static IP: If your ISP has provided you with a fixed IP address, you’ll want to select this option. You’ll need to enter the specific IP address, subnet mask, gateway IP, and DNS server addresses provided by your ISP.
- PPPoE (Point-to-Point Protocol over Ethernet): This option is often used for DSL connections. It requires you to enter a username and password provided by your ISP to establish the connection.
- L2TP (Layer 2 Tunneling Protocol): L2TP is a tunneling protocol used to support virtual private networks (VPNs). If your ISP uses L2TP for internet connections, you’ll need to enter the server IP address, username, password, and possibly a pre-shared key.
- PPTP (Point-to-Point Tunneling Protocol): PPTP is another tunneling protocol commonly used for VPN connections. Similar to L2TP, you’ll need to enter the server IP address, username, password, and possibly a pre-shared key if your ISP uses this protocol.
When selecting the appropriate internet connection type, it’s crucial to refer to the settings provided by your ISP. Choosing the wrong option or entering incorrect information can result in connection issues. Take the time to ensure that you’ve accurately entered all required details to establish a stable and reliable internet connection.
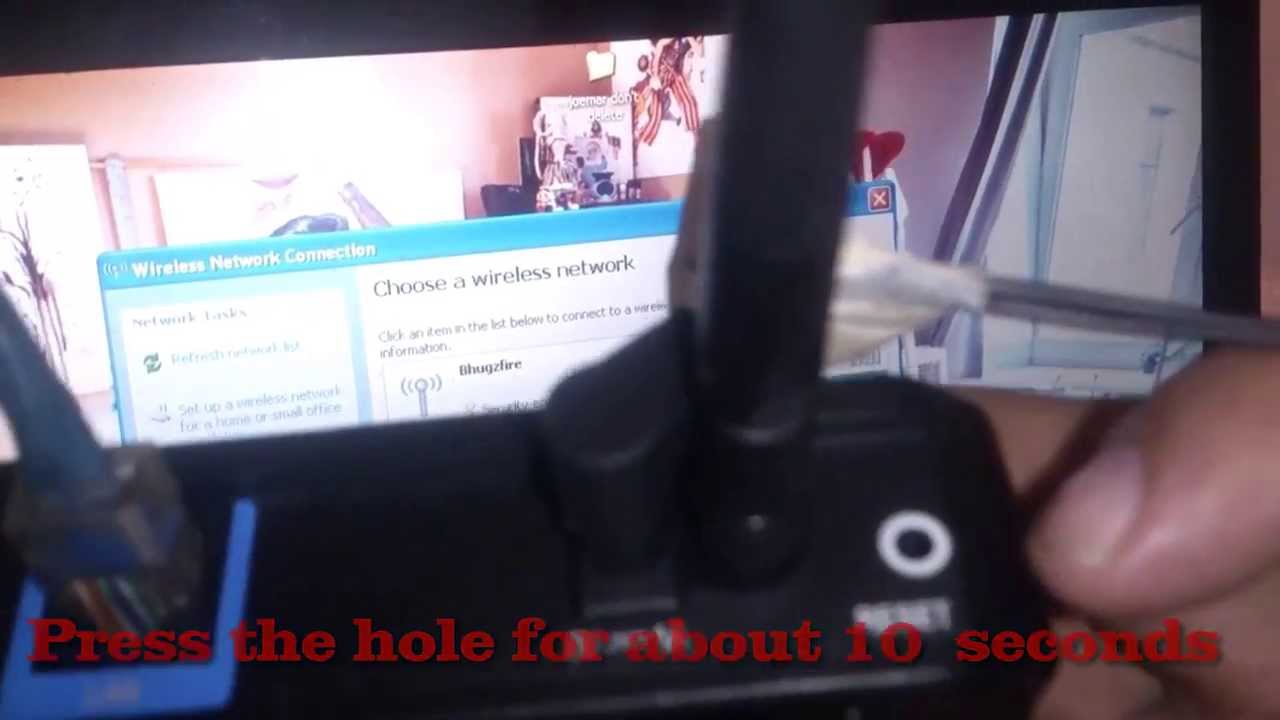
Step 5: Troubleshooting Wi-Fi Disconnections If you’ve experienced frequent Wi-Fi disconnections after using the router for some time, you may consider upgrading or converting to alternative firmware. This can unlock hidden features and potentially resolve connectivity issues.
Congratulations! You’ve successfully set up and configured your TPLINK Dual Band Router. Enjoy seamless internet connectivity and enhanced performance with your new router setup.